
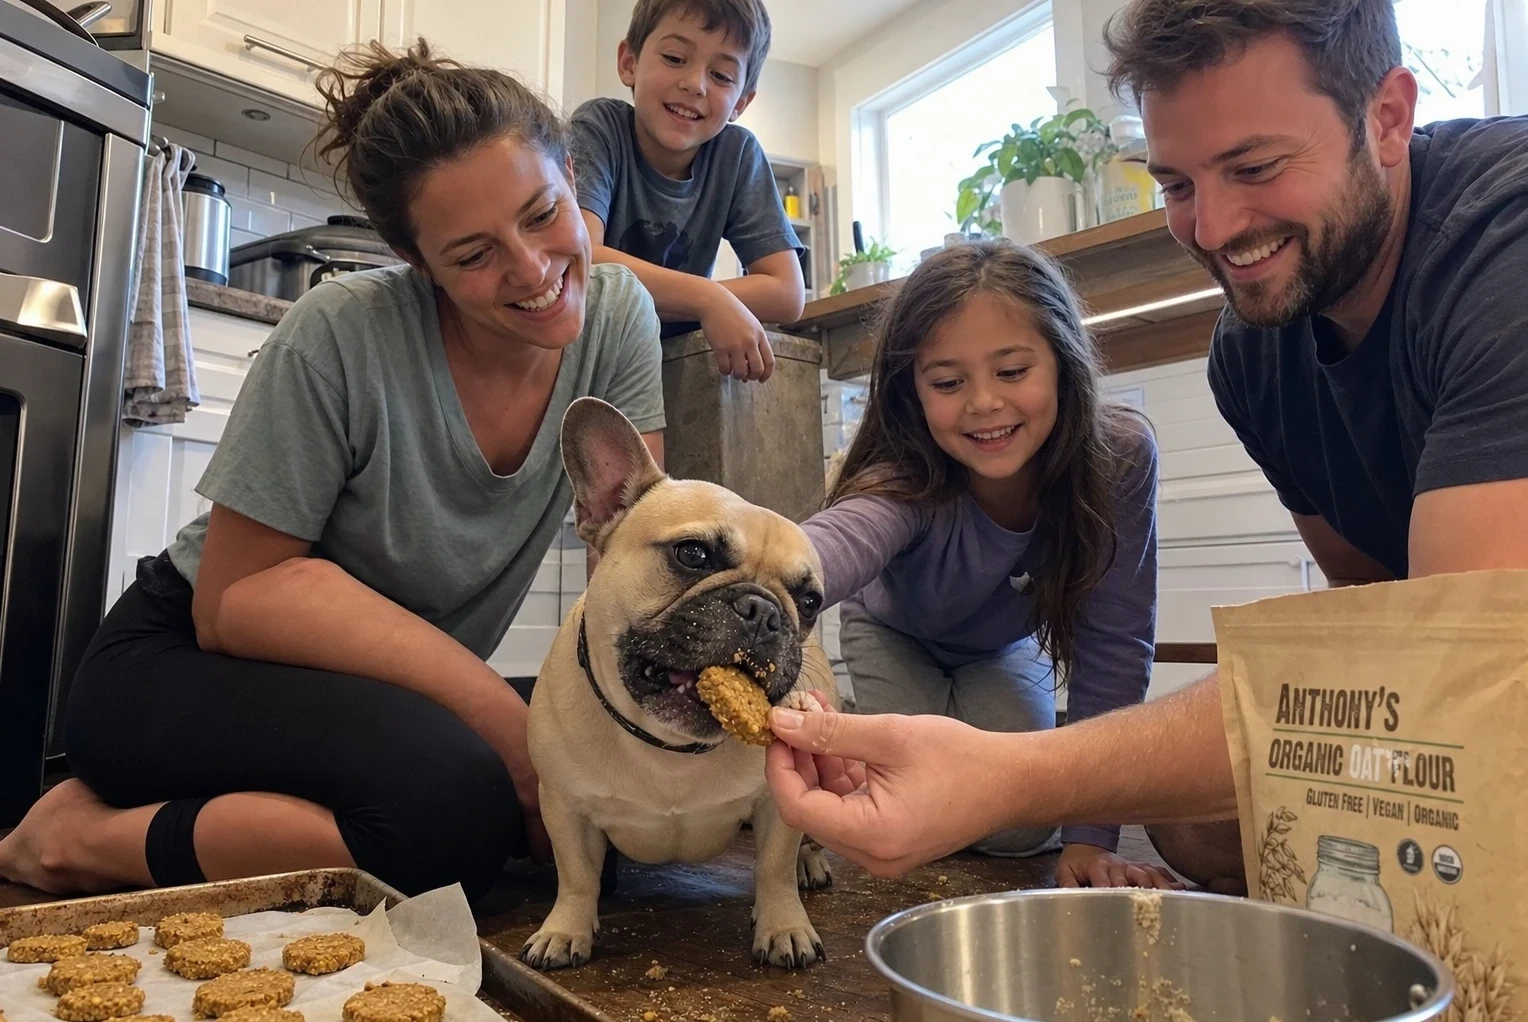
If you’ve ever flipped over a bag of store-bought dog treats and squinted at an ingredient list full of words you can’t pronounce, you’re not alone. This is something that truly frustrates me, especially because it’s totally unnecessary.
More and more dog owners are turning to natural dog treat recipes because, let’s be honest, you want to know exactly what’s going into your best friend’s body. The good news is that learning how to make dog treats at home isn’t some advanced culinary skill reserved for professional bakers — it’s simple, affordable, and honestly kind of fun once you get the hang of it.
This guide breaks down everything you need to know: the guidelines that keep treats safe and healthy, the ingredients worth keeping on hand, and several recipes with the pros and cons of each so you can pick what fits your dog and your schedule.
Why Bother Making Dog Treats at Home?
Store-bought treats aren’t inherently evil, but homemade natural dog treats offer some clear advantages:
- Full ingredient control: No mystery preservatives, artificial colors, or unpronounceable fillers.
- Customization for allergies: Grain-free, dairy-free, or low-fat — you decide based on your dog’s needs.
- Cost savings: A batch of homemade treats often costs a fraction of premium boutique bags.
- Freshness: No months sitting on a warehouse shelf — you know exactly when they were made.
- Bonding time: It sounds cheesy, but baking treats for your dog is a genuinely satisfying weekend activity.
Golden Rules for Natural, Healthy Dog Treats
Before you start experimenting, keep these guidelines in mind — they apply to every recipe below and any future creations you dream up.
- Avoid toxic ingredients entirely. Chocolate, xylitol (common in peanut butter and baked goods), grapes, raisins, onion, garlic, and macadamia nuts are all off-limits, no exceptions.
- Keep treats small. Treats should be a reward, not a meal — the general rule of thumb is that treats shouldn’t exceed 10% of a dog’s daily caloric intake.
- Choose simple, whole-food ingredients. Oats, pumpkin, sweet potato, plain yogurt, and lean proteins are all excellent bases.
- Watch portion size relative to your dog’s weight. A treat sized right for a 70-lb Labrador is way too much for a 10-lb terrier.
- Double-check labels on store-bought add-ins. Peanut butter, in particular, is notorious for sneaking in xylitol — always read the ingredient list.
- Store treats properly. Most homemade treats keep in the fridge for about a week, or in the freezer for up to 3 months.
- Introduce new recipes gradually. Give your dog a small amount first to make sure their stomach agrees with a new ingredient before feeding a full batch.
- Consult your vet for dogs with health conditions. Diabetic, overweight, or pancreatitis-prone dogs may need adjusted recipes (lower fat, no added sugar, etc.).
The Essential Pantry for Homemade Dog Treats
You don’t need anything exotic to get started. Here’s what tends to show up again and again in natural dog treat recipes:
- Oat flour or whole wheat flour — gentle on digestion and easy to work with
- Canned pure pumpkin (not pie filling) — great for fiber and a favorite flavor for most dogs
- Peanut butter (xylitol-free) — a crowd-pleaser in moderation
- Eggs — a binding agent and protein boost
- Plain Greek yogurt — probiotic-rich and great as a topping or mix-in
- Sweet potato and carrots — naturally sweet, nutrient-dense, and easy to bake or dehydrate
- Bananas and apples (no seeds) — natural sweetness without refined sugar
Basic tools you’ll want on hand: a mixing bowl, a rolling pin or your hands, a baking sheet lined with parchment paper, and cookie cutters if you want to get fancy (bone shapes are classic, but honestly any shape works fine).
Recipe 1: 3-Ingredient Pumpkin Oat Bites
This is the treat to start with if you’ve never baked for your dog before — it’s nearly foolproof.
Ingredients:
- 2 cups oat flour
- 1 cup pure canned pumpkin
- 1 egg
Instructions:
- Preheat oven to 350°F (175°C) and line a baking sheet with parchment paper.
- Mix all three ingredients into a firm dough.
- Roll into small balls (or roll flat and cut into shapes) and flatten slightly onto the baking sheet.
- Bake for 20 minutes, or until firm and slightly golden.
- Cool completely before storing.
Pros:
- Only three ingredients — nearly impossible to mess up
- Pumpkin is gentle on digestion and a favorite flavor for most dogs
- Great for beginners with no baking experience
Cons:
- Fairly bland on its own — some dogs may want a bit more flavor variety
- Texture can be dense if not rolled thin enough
Recipe 2: Peanut Butter Banana Training Treats
Small, soft, and highly motivating — ideal for training sessions where you need a lot of quick rewards.
Ingredients:
- 1 ripe banana, mashed
- 2 tbsp xylitol-free peanut butter
- 1 cup oat flour
- 1 egg
Instructions:
- Preheat oven to 350°F (175°C).
- Combine all ingredients into a thick batter.
- Spoon small dollops (about the size of a dime) onto a lined baking sheet.
- Bake for 12–15 minutes, until just set — you want these soft, not crunchy.
- Cool and store in the fridge for up to a week.
Pros:
- Soft texture makes them ideal for quick training rewards
- High palatability — even picky dogs tend to love these
- Easy to break into even smaller pieces for tiny dogs
Cons:
- Peanut butter is calorie-dense, so these shouldn’t be a large percentage of daily food
- Softer treats spoil faster than crunchy ones, so refrigeration is a must
Recipe 3: Sweet Potato Chews (Dehydrated, Single-Ingredient)
If you want the absolute simplest, most natural treat possible, this is it — literally one ingredient.
Ingredients:
- 1 large sweet potato
Instructions:
- Preheat oven to 250°F (120°C) — low and slow is key here.
- Wash and slice the sweet potato into thin strips, about 1/4 inch thick.
- Lay strips flat on a parchment-lined baking sheet, not touching.
- Bake for 2.5–3 hours, flipping halfway through, until chewy and slightly leathery.
- Cool completely before storing (they’ll crisp up a bit more as they cool).
Pros:
- Single ingredient — as natural and allergy-friendly as it gets
- Great for dogs with grain or protein sensitivities
- Naturally sweet, so most dogs love them without any added sugar
Cons:
- Long baking/dehydrating time compared to other recipes
- Texture can vary batch to batch depending on slice thickness
Recipe 4: Frozen Yogurt Drops (No-Bake)
Perfect for hot weather or when you don’t want to turn the oven on at all.
Ingredients:
- 1 cup plain Greek yogurt
- 1/2 mashed banana or a few mashed blueberries
Instructions:
- Mix the yogurt with the mashed fruit until smooth.
- Spoon small dollops onto a parchment-lined tray.
- Freeze for at least 2 hours, until solid.
- Transfer to a freezer bag or airtight container for storage.
Pros:
- No baking required — ready in minutes of active prep time
- Probiotic benefits from the yogurt support digestive health
- Great for hot summer days as a cooling treat
Cons:
- Must stay frozen — not portable or practical for on-the-go training
- Melts quickly once out of the freezer, so timing matters at parties or outdoor events
Recipe 5: Apple Oat Cookies
A slightly more “cookie-like” treat with a satisfying crunch, great for dogs who prefer something crispier.
Ingredients:
- 1 apple, grated (seeds and core removed — apple seeds contain trace cyanide compounds)
- 1 cup oat flour
- 1 egg
- 1/4 tsp cinnamon (optional, dog-safe in small amounts)
Instructions:
- Preheat oven to 350°F (175°C).
- Combine all ingredients into a dough.
- Roll out and cut into small shapes, or simply flatten into small rounds.
- Bake for 15–18 minutes, until firm and lightly browned.
- Cool completely — they’ll continue to crisp as they cool.
Pros:
- Crunchy texture that many dogs find satisfying (and it’s good for their teeth)
- Mild natural sweetness from the apple without added sugar
- Keeps well for up to two weeks in an airtight container
Cons:
- Must remove all seeds and core thoroughly — a bit more prep work than other recipes
- Not ideal for dogs with very sensitive teeth or dental issues due to the crunch
Matching the Recipe to Your Dog’s Needs
Not every treat fits every dog. Use this quick guide to decide:
- For training sessions: Go with soft, small treats like the peanut butter banana bites — easy to break apart and quick to eat.
- For dogs with allergies: The single-ingredient sweet potato chews are the safest bet.
- For hot weather: Frozen yogurt drops win, hands down.
- For picky eaters: Peanut butter-based recipes tend to have the highest success rate.
- For dental health: Crunchier options like the apple oat cookies offer a bit of a teeth-cleaning benefit.
Storage and Shelf Life Basics
- Refrigerator: Most soft, moist treats (yogurt-based, banana-based) last about 5–7 days.
- Freezer: Almost all of these recipes freeze well for up to 3 months — just thaw a few at a time.
- Room temperature: Only fully dehydrated treats (like the sweet potato chews) should ever sit out, and even then, only for a day or two before refrigerating.
- Labeling: If you batch-cook multiple recipes, label containers with the date made — it’s easy to lose track otherwise.
Final Thoughts
Once you get comfortable with a few natural dog treat recipes, you’ll wonder why you ever relied on the pet store aisle in the first place. Learning how to make dog treats at home doesn’t require special equipment or advanced skills — just simple, whole ingredients, a little patience, and an understanding of what your individual dog needs, whether that’s allergy-friendly simplicity, training-friendly softness, or dental-friendly crunch.
But here’s a suggestion: start with one recipe, see how your dog responds, and build out a rotation from there. If you’re like me, you may be prone to over doing it! So keep it simple. And chances are, your dog won’t just eat these treats — they’ll genuinely look forward to them.